10 Easy Steps to Grow Lunaria: A Beginner’s Guide to Cultivating Silver Dollar Plants in Canadian Gardens

Welcome to our comprehensive guide on cultivating Lunaria, also known as the enchanting silver dollar plant or moonwort. In this article, we’ll explore 10 easy steps to grow Lunaria in Canadian gardens, perfect for both novice and experienced gardeners. Whether you’re looking to add texture and color to your garden or seeking small farm crop ideas, this guide has you covered.
“Lunaria, a Zone 4 hardy plant, can thrive in Canadian gardens with temperatures as low as -34°C (-30°F).”
Before we dive into the steps, let’s take a moment to appreciate the beauty and versatility of Lunaria. This biennial beauty, belonging to the Brassicaceae family, is known for its stunning visual appeal and minimal care requirements. It’s an excellent choice for gardeners in Canada, particularly those in Zone 4 and above.
Understanding Lunaria: The Silver Dollar Plant
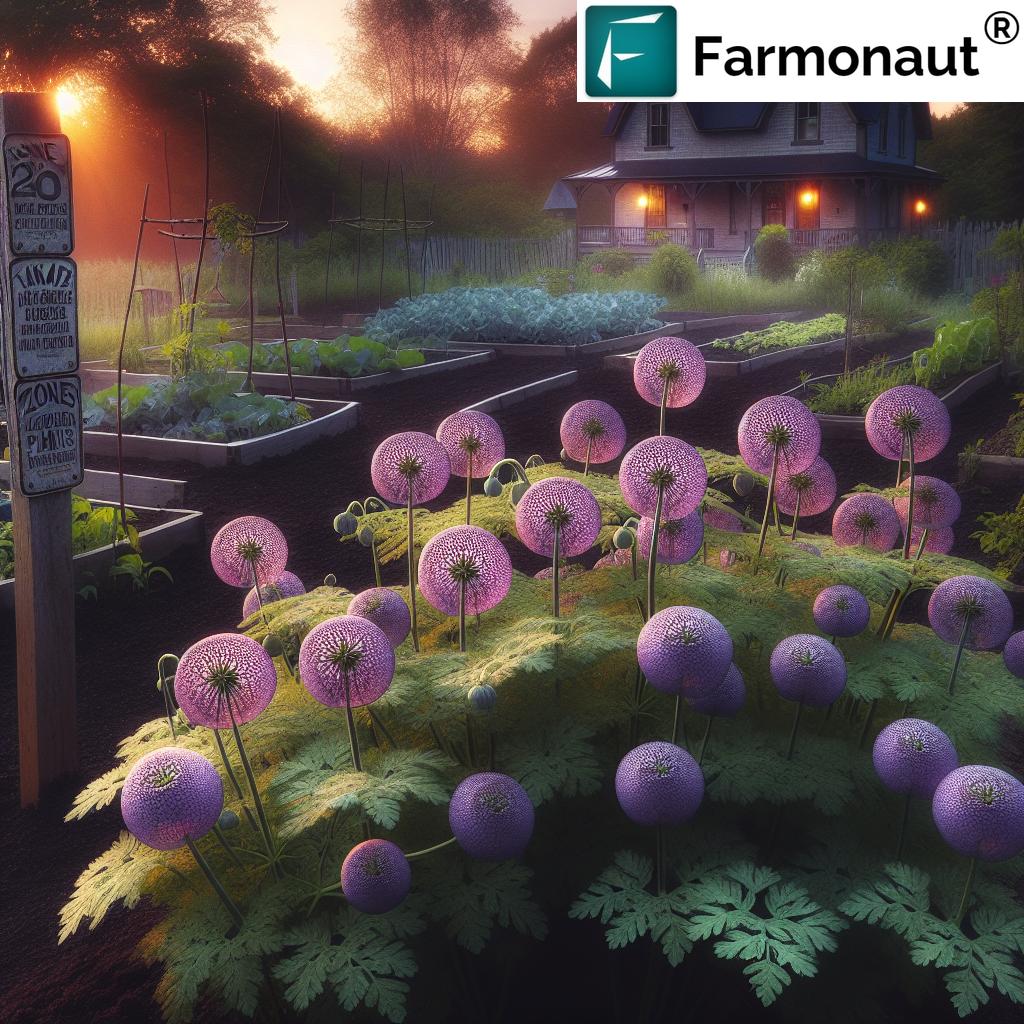
Lunaria, scientifically known as Lunaria annua, is a biennial plant that completes its life cycle in two years. In the first year, it grows foliage, and in the second year, it produces flowers and the iconic silver dollar seed pods. These decorative seed pods are what give the plant its common name and make it a favorite among gardeners and floral arrangers alike.
- Common names: Silver dollar plant, moonwort, honesty flowers
- Scientific name: Lunaria annua
- Family: Brassicaceae
- Life cycle: Biennial
- Hardiness: Zone 4 and above
Now, let’s explore the 10 easy steps to grow Lunaria in your Canadian garden.
Step 1: Choosing the Right Location
The first step in cultivating Lunaria is selecting the perfect spot in your garden. These plants are adaptable and can thrive in various conditions, making them ideal for Canadian gardens.
- Sun exposure: Lunaria prefers full sun to partial shade. In cooler Canadian climates, aim for at least 6 hours of direct sunlight daily.
- Soil conditions: Well-draining, fertile soil is ideal. Lunaria can tolerate various soil types but thrives in slightly alkaline to neutral pH (6.5-7.5).
- Space considerations: Plan for plants to reach 60-90 cm (2-3 feet) in height and 30-45 cm (1-1.5 feet) in width.
By choosing the right location, you’re setting the stage for healthy, vibrant Lunaria plants that will become a stunning feature in your garden.
Step 2: Preparing the Soil
Proper soil preparation is crucial for the successful cultivation of Lunaria. While these plants are adaptable, providing them with optimal growing conditions will ensure lush growth and abundant blooms.
- Soil quality: Amend your garden soil with organic matter such as compost or well-rotted manure to improve fertility and drainage.
- Texture: Aim for a loamy texture that retains moisture but doesn’t become waterlogged.
- pH levels: Test your soil and adjust if necessary to achieve a pH between 6.5 and 7.5.
Remember, healthy soil leads to healthy plants. Taking the time to prepare your soil will pay off in the long run with robust Lunaria growth.
Step 3: Sowing Lunaria Seeds
Sowing Lunaria seeds is a straightforward process that can be done directly in the garden or started indoors for transplanting later.
- Timing: Sow seeds in early spring or late fall. In Canada, spring sowing is typically done after the last frost date.
- Depth: Plant seeds approximately 0.6 cm (1/4 inch) deep.
- Spacing: Space seeds about 15 cm (6 inches) apart.
- Indoor starting: If starting indoors, sow seeds 6-8 weeks before the last expected frost date.
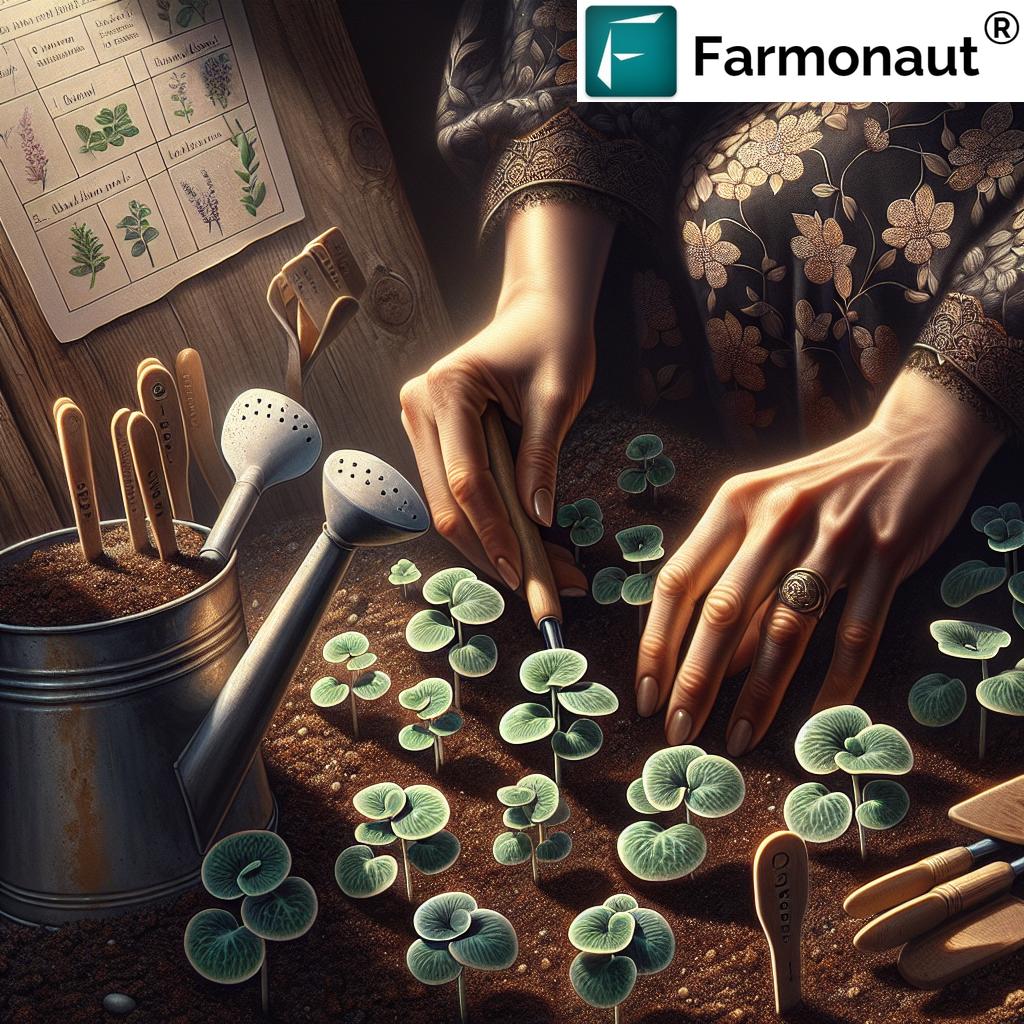
Whether you choose to sow directly or start indoors, ensure the soil remains consistently moist until germination occurs.
Step 4: Caring for Seedlings
Once your Lunaria seeds have germinated, it’s time to focus on nurturing the young seedlings. Proper care at this stage is crucial for establishing strong, healthy plants.
- Watering: Keep the soil consistently moist but not waterlogged. Water gently to avoid disturbing the delicate seedlings.
- Light: Ensure seedlings receive adequate light. If started indoors, place them near a sunny window or use grow lights.
- Thinning: Once seedlings have developed their first true leaves, thin them to about 30 cm (12 inches) apart to prevent overcrowding.
By providing attentive care during this early stage, you’re setting the foundation for robust Lunaria plants that will thrive in your Canadian garden.
Step 5: Transplanting Seedlings
If you started your Lunaria seeds indoors, transplanting them to the garden is the next crucial step. This process requires careful handling to ensure the young plants adapt well to their new environment.
- Timing: Transplant seedlings outdoors after the danger of frost has passed and they have developed several sets of true leaves.
- Hardening off: Gradually acclimatize seedlings to outdoor conditions over 7-10 days before transplanting.
- Spacing: Plant seedlings 30-45 cm (12-18 inches) apart to allow for proper growth and air circulation.
- Depth: Plant at the same depth as they were growing in their containers.
After transplanting, water thoroughly and monitor the plants closely for the first few weeks to ensure they establish well in their new location.
“Lunaria’s distinctive silver seed pods can persist on the plant for up to 6 months after flowering.”
Step 6: Watering and Fertilizing
Proper watering and fertilization are key to maintaining healthy Lunaria plants throughout their growing season. While these plants are relatively low-maintenance, providing the right amount of water and nutrients will ensure optimal growth and blooming.
- Watering: Water deeply and regularly, especially during dry spells. Aim to keep the soil consistently moist but not waterlogged.
- Mulching: Apply a 5-7 cm (2-3 inch) layer of organic mulch around plants to help retain moisture and suppress weeds.
- Fertilizing: Apply a balanced, slow-release fertilizer in early spring when new growth begins. Avoid over-fertilizing, as this can lead to leggy growth.
Remember, Lunaria is adaptable and can tolerate some drought once established, but consistent moisture will promote healthier plants and more abundant blooms.
Step 7: Managing Pests and Diseases
While Lunaria is generally resistant to many common garden pests and diseases, it’s essential to stay vigilant and address any issues promptly to maintain plant health.
- Common pests: Watch for aphids, slugs, and snails. These can be managed with organic methods such as handpicking or using diatomaceous earth.
- Diseases: Lunaria may occasionally be affected by powdery mildew or leaf spot. Ensure good air circulation and avoid overhead watering to prevent these issues.
- Prevention: Regular inspection of plants, proper spacing, and maintaining garden hygiene can help prevent most pest and disease problems.
By addressing any issues early and maintaining a healthy growing environment, you can ensure your Lunaria plants remain vibrant and disease-free.

Step 8: Supporting Plant Growth
As your Lunaria plants grow, they may benefit from some additional support, especially in windy areas or if they become top-heavy with blooms and seed pods.
- Staking: Use bamboo stakes or thin garden stakes to support taller plants. Gently tie the stems to the stakes using soft plant ties.
- Pruning: While not strictly necessary, light pruning can help shape the plants and encourage bushier growth. Pinch back the growing tips when plants are about 15 cm (6 inches) tall.
- Deadheading: Remove spent flowers to encourage continued blooming, unless you want to allow the plant to form seed pods.
These simple support measures will help your Lunaria plants maintain their attractive appearance throughout the growing season.
Step 9: Harvesting and Using Lunaria
One of the joys of growing Lunaria is harvesting its beautiful flowers and iconic seed pods. These versatile plants offer multiple uses in both fresh and dried arrangements.
- Flowers: Cut flowers when they are fully open for use in fresh bouquets. Lunaria blooms in shades of purple, pink, or white.
- Seed pods: Allow seed pods to develop and dry on the plant. Harvest when they turn papery and translucent, typically in late summer or early fall.
- Drying: Hang harvested stems upside down in a cool, dry place to preserve the seed pods for dried arrangements.
The dried seed pods of Lunaria make excellent additions to wreaths, dried bouquets, and other craft projects, adding a unique texture and shimmer to your creations.
Step 10: Preparing for the Next Season
As the growing season comes to an end, it’s time to prepare your Lunaria plants for the next year. This step is crucial for maintaining the biennial cycle and ensuring continued growth in your garden.
- Seed collection: If desired, collect seeds from dried pods for replanting or sharing with fellow gardeners.
- Overwintering: In most Canadian climates, Lunaria is hardy enough to overwinter without special protection. A layer of mulch can provide extra insulation in colder regions.
- Spring clean-up: In early spring, remove any dead foliage and prepare the soil for new growth or seedlings.
By following these steps, you’ll ensure a continuous cycle of Lunaria in your garden, with new plants emerging as older ones complete their biennial cycle.
Lunaria Growth Stages and Care Guide
| Growth Stage | Time Frame | Soil Conditions | Watering Needs | Care Tips |
|---|---|---|---|---|
| Seed Sowing | Early spring or late fall | Well-draining, fertile soil | Keep soil moist | Sow seeds 1/4 inch deep, 6 inches apart |
| Seedling | 2-4 weeks after sowing | Moist, nutrient-rich soil | Consistent moisture | Thin seedlings to 12 inches apart |
| Young Plant | 1-2 months after germination | Well-draining soil | Regular watering | Apply balanced fertilizer |
| Flowering | Spring of second year | Fertile, slightly alkaline soil | Moderate watering | Stake tall plants if necessary |
| Seed Pod Formation | Late spring to early summer | Well-draining soil | Reduce watering | Allow pods to dry on plant for harvesting |
This table provides a quick reference guide for the various stages of Lunaria growth, helping you provide the best care throughout the plant’s life cycle.
Enhancing Your Gardening Experience with Technology
While growing Lunaria is a rewarding experience on its own, incorporating modern technology can take your gardening to the next level. Farmonaut offers innovative solutions that can help you monitor and manage your garden more effectively, even if you’re cultivating on a small scale.
- Satellite-Based Crop Monitoring: Although primarily designed for larger agricultural operations, Farmonaut’s satellite monitoring can be adapted for garden use, helping you track the overall health of your garden area.
- Weather Forecasting: Access precise weather data to make informed decisions about watering and protecting your Lunaria plants from extreme conditions.
- Soil Moisture Tracking: While not specifically for individual plants, this feature can give you insights into the general moisture levels in your garden area.
To explore these features and more, consider checking out Farmonaut’s offerings:
Companion Planting with Lunaria
Companion planting can enhance the growth and beauty of your Lunaria plants while maximizing garden space. Here are some excellent companions for Lunaria:
- Collinsia: This annual flower complements Lunaria’s growth cycle and adds additional color to your garden.
- Lobelia: The low-growing habit of Lobelia makes it an excellent ground cover companion for taller Lunaria plants.
- Spring-flowering bulbs: Tulips, daffodils, and other spring bulbs can provide early color before Lunaria reaches its full growth.
When planning your garden layout, consider these companions to create a diverse and visually appealing garden ecosystem.
Frequently Asked Questions
Q: How long does it take for Lunaria to bloom?
A: Lunaria typically blooms in its second year of growth. If planted in spring, you can expect flowers the following spring.
Q: Can Lunaria be grown in containers?
A: Yes, Lunaria can be grown in containers, provided they are at least 30 cm (12 inches) deep and have good drainage.
Q: Is Lunaria invasive?
A: While Lunaria can self-seed readily, it is not typically considered invasive in Canada. However, you may want to remove some seedlings to prevent overcrowding.
Q: How do I preserve Lunaria seed pods for crafts?
A: Allow the pods to dry completely on the plant, then gently remove the outer layers to reveal the translucent inner membrane. Store in a dry place until ready to use.
Q: Can Lunaria tolerate frost?
A: Yes, Lunaria is quite frost-hardy, especially in its second year. It can withstand temperatures as low as -34°C (-30°F), making it suitable for most Canadian gardens.
Conclusion
Growing Lunaria in Canadian gardens is a rewarding experience that offers beauty, versatility, and minimal maintenance. By following these 10 easy steps, you can successfully cultivate these enchanting silver dollar plants, adding unique texture and color to your garden or small farm.
Remember, Lunaria is a hardy Zone 4 plant that thrives with minimal care in various soil conditions. Whether you’re a novice gardener or an experienced horticulturist, these plants offer an excellent opportunity to enhance your outdoor space with their charming flowers and iconic seed pods.
As you embark on your Lunaria growing journey, consider leveraging modern technology to enhance your gardening experience. While Farmonaut’s advanced solutions are primarily designed for larger agricultural operations, many of its features can be adapted to benefit home gardeners and small-scale growers.
We hope this guide has inspired you to add Lunaria to your Canadian garden. Happy gardening!


