
Gold Panning Technique: How to Swirl a Pan Properly
Reviewed September 2026 against USGS gold-prospecting data and 911Metallurgist’s panning-physics reference.
Try it: Estimated season result: — →
Proper gold panning technique comes down to one motion: submerge the pan at a slight angle and swirl gently in a circular motion so lighter sand washes over the lip while gold — roughly 7 times denser than typical stream sand — sinks and stays trapped against the bottom. Most beginners fail not because they choose the wrong creek, but because they swirl too fast, which re-suspends the gold along with the sand and washes both away together. Get the swirl right and a basic pan can recover particles down to 0.5–1.0mm, about the size of a grain of salt.
This guide breaks the technique into the exact sequence experienced panners use — the “three-look method” — plus the site selection, tools, and step-by-step screening process that make that swirl worth doing in the first place. It’s written for US prospectors working public and permitted land, referencing the USGS’s own site-selection guidance and current beginner equipment pricing.
Table of Contents
- Introduction
- How Gold Panning Works, Step by Step
- The Three-Look Method: How to Swirl Properly
- Spotting Promising Panning Sites
- Tools and Setup: The Beginner’s Kit
- Screening and Washing Before You Swirl
- Concentrating and Recovering Fine Gold
- Panning Kit Cost & Recovery Calculator
- Best Practices for Land Managers & Farmers
- Safety, Legality, and Environmental Responsibility
- Common Mistakes That Ruin the Swirl
- Step-by-Step Technique Comparison Table
- Beyond the Pan: Satellite-Based Mineral Detection
- Frequently Asked Questions
- Conclusion
- Try it: Estimated season result: —
Introduction: What “Proper Technique” Actually Means
Gold panning is one of the most accessible gold mining techniques available to a beginner — no permits, no crew, and a starter kit that costs less than a dinner out. But “technique” here is a precise physical process, not a vague skill. Gold has a specific gravity of roughly 16–18, versus about 2.5 for typical stream sand — a density ratio near 7:1, according to panning-physics references compiled by 911Metallurgist. That ratio is the entire reason panning works: gentle water agitation lets heavier gold sink through a bed of lighter sand while the sand itself gets carried up and off the pan’s lip. Swirl too hard and you inject enough turbulence to lift the gold along with everything else, which is why so many first-time panners come home with an empty vial despite hours at the creek.

Who This Guide Is For
- ✔ Beginners who want the actual swirl mechanics, not just a gear list.
- ✔ Farmers and landholders checking a stream on their own property with minimal disturbance.
- ✔ Land managers and foresters identifying resource-rich zones and erosion risk.
- ✔ Recreational prospectors planning a weekend trip on BLM or state land.
- ✔ Investors and larger operators scouting sites before committing to deeper exploration.
How Gold Panning Works, Step by Step
At its core, gold panning is gravity separation done by hand. Water suspends the lighter fraction of a sediment sample while the pan’s motion keeps the densest particles — gold among them — migrating toward the bottom and outer edge. The full sequence looks like this:
- Collect a sample of gravel and sand from a promising layer (details below).
- Classify it through a mesh sieve to remove oversized rock.
- Submerge the pan and break up any clay or clumps by hand.
- Tilt and swirl at a shallow angle so lighter material washes over the lip in stages — this is the three-look method, detailed next.
- Reduce to concentrate — a small residue of “black sand” (magnetite and other heavies) that carries any gold present.
- Recover visible flakes with a snuffer bottle or tweezers.
Every step exists to protect that final concentration stage. Skipping classification means fighting oversized rock in the pan; swirling too fast at any stage means losing gold you already isolated. The next section covers the swirl itself — the part responsible for essentially all of the technique’s actual difficulty.
The Three-Look Method: How to Swirl Properly
This is the answer to “how to swirl properly” in the form working panners actually use it — three distinct passes, each with a different water level and pan angle, rather than one continuous swirl.
First Look — High Water, Flat Angle
Fill the pan with enough water to cover the material by an inch or two. Hold it nearly level and swirl in a smooth, circular motion — imagine tracing a wide circle with the pan’s rim, not shaking it side to side. This first pass breaks up clay, floats off organic debris (leaves, roots), and lets you tilt the pan slightly forward with each rotation to let the top layer of lighter sand slide off the lip. Watch for even, uniform movement across the material; if it’s clumping, you need more water or a longer soak first.
Second Look — Lower Water, Steeper Tilt
With the bulk of the light material gone, tilt the pan more aggressively — roughly 30–45 degrees — and continue the same gentle circular swirl. This encourages the remaining heavier gravels and any gold to migrate to the low point of the pan while a thinner layer of sand keeps washing off the high side. Pause periodically and look for “colors” — small golden glints in the darker material. This is the stage where most of the visible reduction in volume happens.
Third Look — Minimal Water, Final Reduction
Only a small amount of dense, dark material should remain — mostly black sand. Add a shallow layer of water and swirl in short, controlled motions, tilting just enough to nudge the lightest remaining sand off the edge without disturbing the heaviest fraction at the bottom. Gold at this stage is usually bright, flat, and clings to the lowest point of the pan. This is where fine flakes are most easily lost if you rush — slow down as the sample gets smaller, not faster.
The Single Most Important Rule
Speed is the enemy at every stage. A fast, aggressive churn re-mixes gold back into the lighter sediment you just separated. Keep the pan at a low angle, swirl in smooth circles rather than shaking, and never overfill the pan — a pan loaded past about two-thirds capacity makes it physically harder to control the tilt precisely enough to hold the density separation.

Spotting Promising Panning Sites
Technique only pays off where gold has actually accumulated. The USGS documents gold deposits suitable for prospecting across 32 US states, and its Mineral Resources Data System records more than 74,000 historical gold mine sites spread across 37 states — a record maintained by the USGS and referenced in its prospecting overview (USGS Mineral Resources Data System). That’s a starting point for narrowing down a region before you ever touch a pan — states with documented historical workings are far more likely to have accessible placer gold in nearby drainages than states with none on record.
How to Identify a Worthwhile Spot
- ✔ Old creek beds, gravel bars, and floodplains — classic accumulation zones where heavier particles settle during seasonal high flows.
- ✔ Substrate transitions — where coarse gravel grades into finer sediment. This “hydraulic sorting” is exactly the same density-driven process happening in your pan, just at stream scale.
- ✔ Inside river bends — water velocity drops on the inside of a curve, and heavier material (including gold) drops out into “pay streaks.”
- ✔ Behind obstructions — boulders, fallen logs, and bedrock crevices act as natural riffles.
Quick Checklist Before You Commit a Sample
- ✔ Does the substrate show a mix of sizes, from sand to cobble?
- ✔ Are there eddies or sudden current breaks nearby?
- ✔ Is there any sign of prior workings — old tailings piles, test pits?
Key Insight
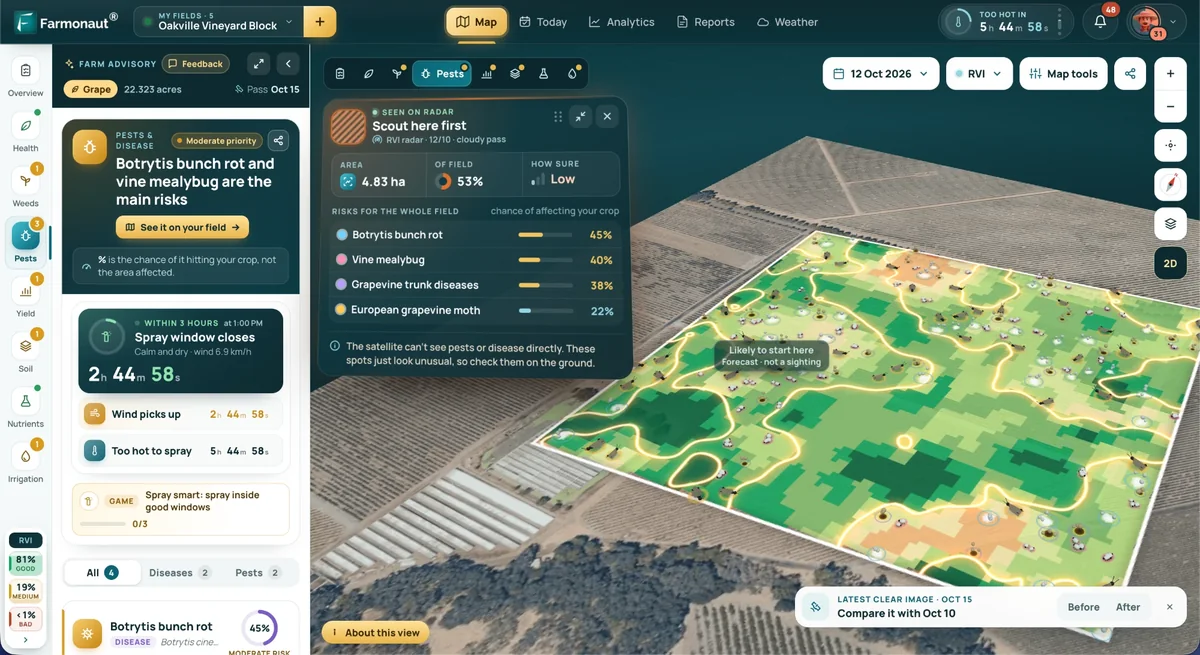
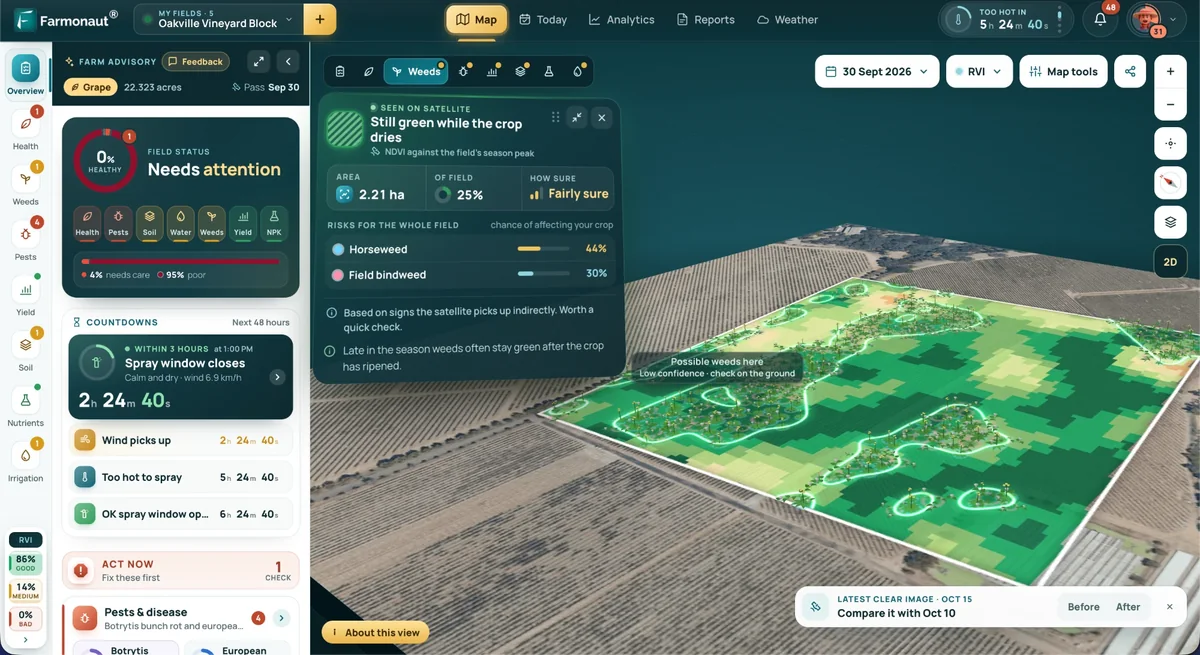
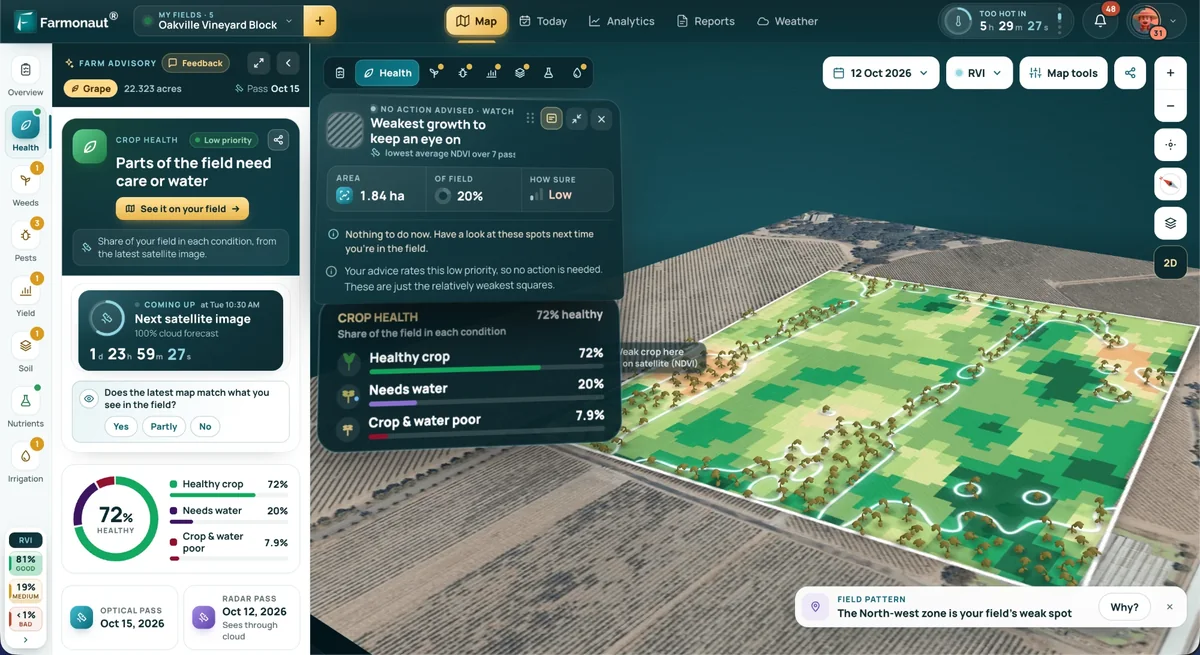
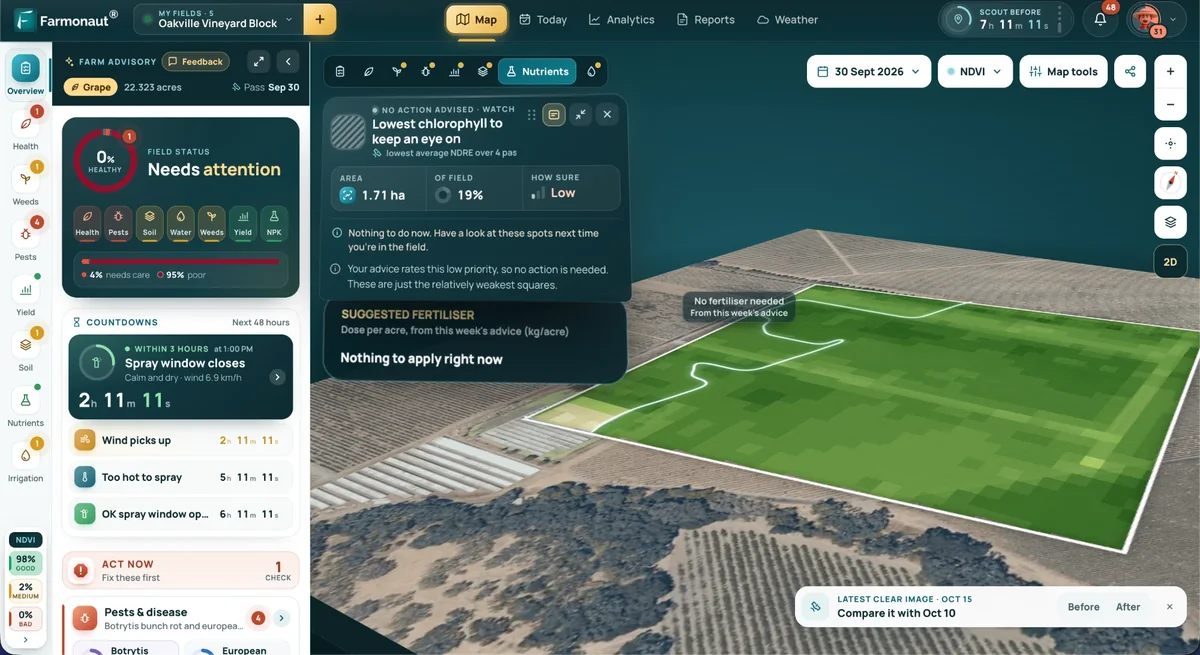
Remote sensing can narrow the search before you ever dig. Map Your Mining Site Here: https://mining.farmonaut.com to run a satellite-driven assessment of a claim or property before committing to fieldwork — useful for larger-acreage prospects where walking every drainage isn’t practical.

Tools and Setup: The Beginner’s Gold Panning Kit
Equipment cost is not a barrier to entry. A plastic 14-inch gold pan — the standard beginner size — runs $12–14 at current US retail, and a complete minimum starter kit (pan, classifier, snuffer bottle, sample vial, and tweezers) totals $30–35, according to GoldFever’s equipment pricing guide. A mid-range setup that adds a classifier stack, a small sluice box, and field comfort gear like waders and gloves lands in the $175–225 range. Prices are current US retail and fluctuate under 5% seasonally per that same source — expect modest movement around Q4 holiday sales.
- ✔ Gold pan — wide, smooth, with a light-colored edge for spotting gold against the rim. Textured riffles along one side help trap heavy material during the swirl.
- ✔ Classifier/sieve — sorts gravel by size before it ever reaches the pan, so you’re only working concentrated material.
- ✔ Shovel or hand trowel — for moving sediment from bank to pan without excessive digging.
- ✔ Snuffer bottle — for lifting fine gold flakes out of the pan for storage.
- ✔ Sample vial and tweezers — for securing and handling recovered flakes.
- ✔ (Optional) Miners’ moss — traps fine particles during repeated sampling of one spot.
Round out the kit with a small bucket, gloves, a local land-status map, and a GPS or smartphone for logging productive coordinates.

Screening and Washing Before You Swirl
The swirl only works on material that’s already been reduced to a manageable size. Screening and washing is that prep stage.
- Collect a representative sample — a small amount from the bank or streambed. Avoid large-scale digging; a hand trowel’s worth is usually enough to test a spot.
- Run it through the classifier — shake and rinse gently over the pan, removing stones and oversized debris.
- Submerge and break up clumps — especially important in clay-heavy soil, where gold can stay trapped inside a clod and never reach the pan bottom no matter how well you swirl.
- Move into the three-look swirl described above once the sample is uniform and clump-free.

Concentrating and Recovering Fine Gold
Once you spot color, the technique shifts from bulk reduction to careful preservation:
- ✔ Cut water flow further — the smallest, slowest swirls of the whole session happen here.
- ✔ Use the snuffer bottle to lift flakes directly off the bottom into a secure vial.
- ✔ Rinse the remaining concentrate once more, checking carefully for missed particles — a basic 14-inch pan, worked correctly, recovers gold down to roughly 0.5–1.0mm, about the size of a grain of salt, per GoldFever’s beginner panning guide. Anything finer than that routinely escapes pan recovery and needs a sluice or finer-mesh setup.
- ✔ Save leftover black sand concentrate for a secondary home wash or magnet separation — it’s common to miss a flake or two on the first pass.
On realistic expectations: practiced recreational panners typically recover $5–20 worth of gold per full day of panning, per GoldFever’s field data from experienced hobbyists. That’s a useful benchmark for judging whether a spot — or your technique — is working, though individual results swing widely with site quality and gold’s spot price, which changes daily; check a live gold price tracker for the current session rate rather than relying on a fixed figure here.
Investor Note
For anyone weighing panning results against a larger prospect, the ratio of black sand concentrate to visible gold in each pan is a fast field indicator of whether a site merits deeper investigation — including non-intrusive options like Farmonaut’s satellite-based mineral detection.

Panning Kit Cost & Recovery Calculator
Plug in your equipment tier and planned trip days to estimate what a season of panning might cost you versus what it could plausibly return, based on the recreational recovery range above.
Estimated season result: —
Assumes recreational panning only, using GoldFever's field-reported $5–20/day recovery value range; excludes gold's daily spot-price swings, travel costs, permit fees, and any commercial or motorized recovery equipment.
Best Practices for Land Managers & Farmers
Responsible gold panning pairs discovery with conservation:
- ✔ Limit disturbance — work small, targeted areas and restore disturbed soil afterward.
- ✔ Follow local law and property rights — confirm legal access and water rights before sampling.
- ✔ Log every site — GPS coordinates, substrate type, and streamflow, so repeat visits don't mean repeat digging.
- ✔ Avoid undercutting banks — work loose gravels and exposed substrate instead.
- ✔ Sample minimally — take only what's needed for a representative test.

Safety, Legality, and Environmental Responsibility
Panning is low-impact by nature, but a few rules keep it that way:
- ✔ Wear sturdy footwear and eye protection, especially on slippery banks or in fast water.
- ✔ Never use mercury or chemical additives — illegal in recreational panning and damaging to soil and water.
- ✔ Check land status before you dig. On US federal land, recreational panning is generally governed by mining-law regulations under 43 CFR 3809; rules differ by state and update on their own cycles — Idaho and California, for example, typically revise state-level rules each spring. Confirm current requirements with the Bureau of Land Management and your state's fish-and-wildlife or mining agency before heading out, since national forests, wilderness areas, and private claims each carry different restrictions.
- ✔ Practice leave-no-trace — refill holes, re-level banks, and return excess sediment to its source.
- ✔ Avoid peak flow periods — high water after rain or snowmelt raises both personal risk and erosion potential.

Pro Tip
If a property shows broader resource potential beyond a single pan sample, pair field results with Farmonaut's satellite-driven 3D mineral prospectivity mapping (view sample) for high-resolution geological heatmaps and depth estimation — without disturbing soil or water.
Common Mistakes That Ruin the Swirl
Even readers who've absorbed the three-look method lose gold to a handful of repeatable errors:
- ⚠ Swirling too fast at any stage — the single biggest cause of lost gold. Speed re-suspends heavy particles along with light ones.
- ⚠ Overfilling the pan — makes precise tilt control physically harder and dilutes your attention across too much material.
- ⚠ Skipping classification — panning unsorted gravel wastes time fighting oversized rock instead of separating density.
- ⚠ Rushing the final look — fine gold (down near the 0.5–1.0mm recovery limit) is most vulnerable to loss exactly when the sample is smallest and confidence is highest.
- ⚠ Not logging productive spots — record coordinates, substrate, and season so future trips build on results instead of starting from zero.
- ⚠ Ignoring seasonal flow changes — deposition patterns shift with rainfall and snowmelt; a productive pay streak in one season may be buried or relocated in the next.
Step-by-Step Technique Comparison Table
| Step | Technique | Goal | Est. Time | Tools | Key Tip |
|---|---|---|---|---|---|
| 1 | Site Selection | Find a gold-bearing zone | 10–30 min | Map, GPS, field notebook | Favor substrate transitions and inside river bends |
| 2 | Collection & Screening | Pre-sort sediment | 5–10 min | Shovel, classifier, gloves | Only collect what's needed to test the spot |
| 3 | First Look (high water, flat angle) | Remove clumps, float off debris | 2–4 min | 14-inch pan | Smooth circular motion, not shaking |
| 4 | Second Look (lower water, steep tilt) | Concentrate heavy gravels | 3–5 min | Pan, steady water source | Pause and scan for "colors" each rotation |
| 5 | Third Look (minimal water, fine control) | Isolate final concentrate | 2–3 min | Pan, patience | Slow down — this is where fine gold is lost |
| 6 | Concentrate Recovery | Collect and secure gold | 3–7 min | Snuffer bottle, vial, tweezers | Work small batches for accuracy |
| 7 | Site Restoration & Log | Restore site, record data | 2–5 min | Hand tools, camera, logbook | Re-level soil; note GPS and substrate |
✔ Key Takeaways
- ✔ The swirl technique — not site luck alone — is what separates gold at a 7:1 density ratio from sand.
- ✔ Slow down at each stage, especially the third look, where fine gold near the 0.5–1.0mm recovery floor is easiest to lose.
- ✔ A complete starter kit costs $30–35; typical recreational recovery runs $5–20 per day, per GoldFever's field data.
- ✔ Confirm land status and permit rules — under 43 CFR 3809 federally, plus state-specific rules — before sampling.
- ✔ Document every site; restoration and stewardship are part of responsible technique, not an afterthought.
Key Insight
Satellite-based analytics, such as Farmonaut's, scan large regions for mineralized zones with zero ground disturbance — useful once a pan sample confirms a property is worth a closer look. Read more about satellite-based mineral detection.
Ready to Go Further?
- ✔ Contact Us: farmonaut.com/contact-us for mineral intelligence consultation.
- ✔ Get a Quote: farmonaut.com/mining/mining-query-form
- ✔ Map Your Mining Site Here: mining.farmonaut.com
Beyond the Pan: Satellite-Based Mineral Detection
Once fieldcraft points to a promising area, remote sensing can scale the search well past what a pan can test in a weekend:
- ✔ Farmonaut's satellite-based mineral detection platform (learn more) screens large areas for mineralized target zones and alteration halos without ground disturbance.
- ✔ Multispectral and hyperspectral satellite data let landholders and investors screen for gold and other minerals across a whole property rather than one creek at a time.
- ✔ Detailed mineral intelligence reports add target prioritization and 3D subsurface simulation to support next-step decisions.
- ✔ The same approach supports lower-impact exploration generally — fewer wasted test pits, less unnecessary excavation.
Field Manual Highlight
If field panning identifies promising spots on a larger property, Farmonaut's analytics (full details) can guide the next stage of investigation with zero additional ground disturbance.
Frequently Asked Questions
What is the best gold panning technique, and how do I swirl properly?
The three-look method: swirl gently in smooth circles at a flat angle with high water to remove clumps and debris, tilt steeper with less water to concentrate heavy gravels, then finish with minimal water and slow, controlled motion to isolate the final concentrate. Speed is what loses gold at every stage — slow, steady circles outperform fast shaking every time.
How does gold panning work, step by step?
Collect sediment, classify it through a mesh sieve to remove oversized rock, submerge and break up clumps, run the three-look swirl to separate by density, then recover the remaining concentrate with a snuffer bottle. Gold's density (specific gravity 16–18) versus sand (2.5) is the physical principle behind every step.
What basic gold panning techniques should a beginner start with?
Start with site selection (creek bends, substrate transitions), proper classification of your sample, and the three-look swirl at a shallow, controlled angle. A $30–35 starter kit covers everything needed to practice all three.
What gold panning tips actually improve recovery?
Never overfill the pan, slow down as the sample shrinks rather than speeding up, classify before you pan, and log GPS coordinates for any spot that shows color so you can return to it in a different season.
What type of pan should I use?
A wide, smooth 14-inch plastic pan with a light-colored edge, so gold particles are easy to spot against the rim. Textured riffles along one side help trap heavy material during the swirl.
Is gold panning legal everywhere in the US?
No. Federal land is generally governed by 43 CFR 3809, but individual states, national forests, and private claims layer additional rules on top. Check the BLM and your state's mining or wildlife agency before you dig — rules can change on annual permit cycles.
How much gold can a beginner realistically recover?
Practiced recreational panners report $5–20 of recovered gold per full day, per GoldFever's field data — though this swings with site quality, technique, and gold's daily spot price. A basic pan recovers particles down to about 0.5–1.0mm; finer gold generally requires a sluice.
Can satellite data help me find better panning sites?
Yes — tools like Farmonaut's satellite-based mineral detection provide large-scale heatmaps and target recommendations so fieldwork focuses on higher-potential ground before any digging starts.








Conclusion
Gold panning technique is a physics problem solved by hand: exploit a roughly 7:1 density gap between gold and sand through patient, controlled swirling rather than speed. The three-look method — high water and a flat angle, then a steeper tilt with less water, then a slow final reduction — is what separates a beginner who fills a vial from one who empties a pan of everything, gold included. Site selection matters too: with documented gold potential in 32 US states and over 74,000 historical mine sites recorded across 37 states per the USGS, most US prospectors have a legitimate option within a reasonable drive.
Equipment is not the bottleneck — a full starter kit runs $30–35 — and realistic expectations matter: $5–20 per day of recreational recovery is the benchmark to judge a session against, not a life-changing find. What separates consistent results from disappointment is almost entirely the swirl itself, done slowly, and the site selection that gives that swirl something worth finding.
For landholders or investors thinking beyond a single creek, pairing hands-on panning with satellite-driven mineral intelligence from Farmonaut extends the same low-disturbance principle across an entire property.
Ready to take the next step?
- ✔ Contact Us for expert advice on integrating fieldwork with advanced analytics.
- ✔ Get a tailored quote for your gold panning and geological survey needs.
- ✔ Map Your Mining Site Here: mining.farmonaut.com
Discussion
Questions, corrections or field experience? Share them below. First-time comments are reviewed before they appear, and your email is never published.
No comments yet. Be the first to add a question or your experience.

 Nanita Company Limited
 Mwerezi Minerals Company Limited
 Congo Mining Solutions
 Mining SARL
 SenGold Invest SAS
 Sania Corporation
 Sean Mining Limited
 NTS Group (Pty) Ltd
 Mine4Africa
 Lithspo Minerals Limited
 Tintina Mining Group
 Dalgety Minerals Pty Ltd
 Vortex Minerals Pty Ltd
 Faith At Work (Pty) Ltd
 Geotech Mining Solutions plc
 Vulcan International Limited
 Kidepo Associates
 GKY Mining
 Licence holder · Nigeria · Gold + lithium