
Exploration methods · Decision guide
Satellite vs Geochemistry vs Geophysics: Where to Start
Start with a desktop review and a satellite screen, then map and sample the best ground. Buy geophysics only where those agree, and drill last. Each step is wider and cheaper than the next.
Key takeaways
- Order that saves money: desktop review, satellite screen, mapping and sampling, geophysics on the best ground, then drilling.
- Sentinel-2 imagery has a 290 km swath and a 5-day revisit with two satellites (Copernicus SentiWiki), so a licence can be screened in days to a few weeks.
- One regional stream-sediment survey in British Columbia averaged one site per 13 square kilometres (Natural Resources Canada); a small licence needs far denser sampling.
- IP suits disseminated sulphides; magnetics and gravity are relatively inexpensive ways to cover large ground (USGS).
- Satellites map surface and near-surface signatures; sampling and drilling confirm.
In this article
- The methods side by side
- Satellite remote sensing: the wide, quick first look
- Geochemistry: soil and stream sampling
- Geophysics: four tools for four questions
- Mapping, trenching and drilling
- The logical order, and why it saves money
- Which method first: a decision table by situation
- What to do first, and why
- Frequently asked questions
Start with what is already on paper, then screen the licence from satellite, then sample and map the best ground, and only then pay for geophysics and drilling. That order is cheapest because each step is wider and quicker than the next, so it decides where the next, dearer step should go. A satellite screen covers a whole licence in days. A geochemical survey covers it in weeks. Geophysics is bought for the part you have already ranked. Drilling tests the few spots that survive.
This guide is for a small licence holder with a limited budget and ground nobody has explored yet. It explains what each method tells you and what it cannot, how much ground it covers, how long it takes and how costly it is compared with the others. Then it gives a decision table for the usual situations and a plain answer to what to do first. The cost levels are relative (low, medium, high) because quotes differ by country and contractor. For real budget figures, see our first-year exploration budget guide for a small licence.
The methods side by side
Every method answers a different question. Satellite imagery asks where the surface shows signs of alteration or structure. Geochemistry asks where metals are in the soil or stream. Geophysics asks what the rock below the surface is like. Mapping and trenching ask what the rock actually is. Drilling asks what is down there, and how much. The table puts them in the order most programmes use them.
| Method | What it tells you | What it cannot tell you | Typical scale | Time | Relative cost |
|---|---|---|---|---|---|
| Desktop review of public maps and reports | Rock types, known deposits nearby, old surveys and drill logs | Anything about your ground that nobody recorded | Whole licence and surroundings | Days | Very low |
| Satellite remote sensing | Surface alteration minerals, iron staining, faults and lineaments, vegetation and land cover | Grade, thickness, or anything under thick cover | Tens to thousands of square kilometres per scene | Days to a few weeks | Low |
| Geological mapping and prospecting | Rock types, veins, structure, old workings | What lies deeper than the outcrop | Sheets from a few hectares to tens of square kilometres | Weeks | Low to medium |
| Soil and stream-sediment geochemistry | Where pathfinder and target metals sit in the surface material | Depth, size, or the source when cover has moved the metal | Reconnaissance: one site per several square kilometres; follow-up: grids of tens of metres | Weeks to months, including laboratory time | Low to medium |
| Airborne magnetics and radiometrics | Magnetic rocks, faults, intrusions; potassium, thorium and uranium in the top of the ground | Metal content; many rocks give the same signal | Hundreds to thousands of square kilometres, lines 100 m to several kilometres apart | Flying in days; processing in weeks | Medium per hectare, but fixed mobilisation cost |
| Ground magnetics, IP and EM | Buried sulphides, conductive or chargeable zones, structure | Which sulphide is copper and which is pyrite | Grids over a few square kilometres | Weeks | Medium to high |
| Gravity | Dense or light bodies such as intrusions and basins | Whether a dense body is ore or barren rock | Grids or regional lines | Weeks | Medium; low per square kilometre over large areas |
| Trenching and pitting | Fresh rock and mineralisation near the surface, structure in section | Anything below a few metres | Single lines of tens of metres | Days to weeks | Medium |
| Drilling | Grade, thickness, rock type and depth, directly | Anything between the holes | Single holes and fences | Months | Highest |
The rest of this guide explains the rows that need more than one line.
Satellite remote sensing: the wide, quick first look
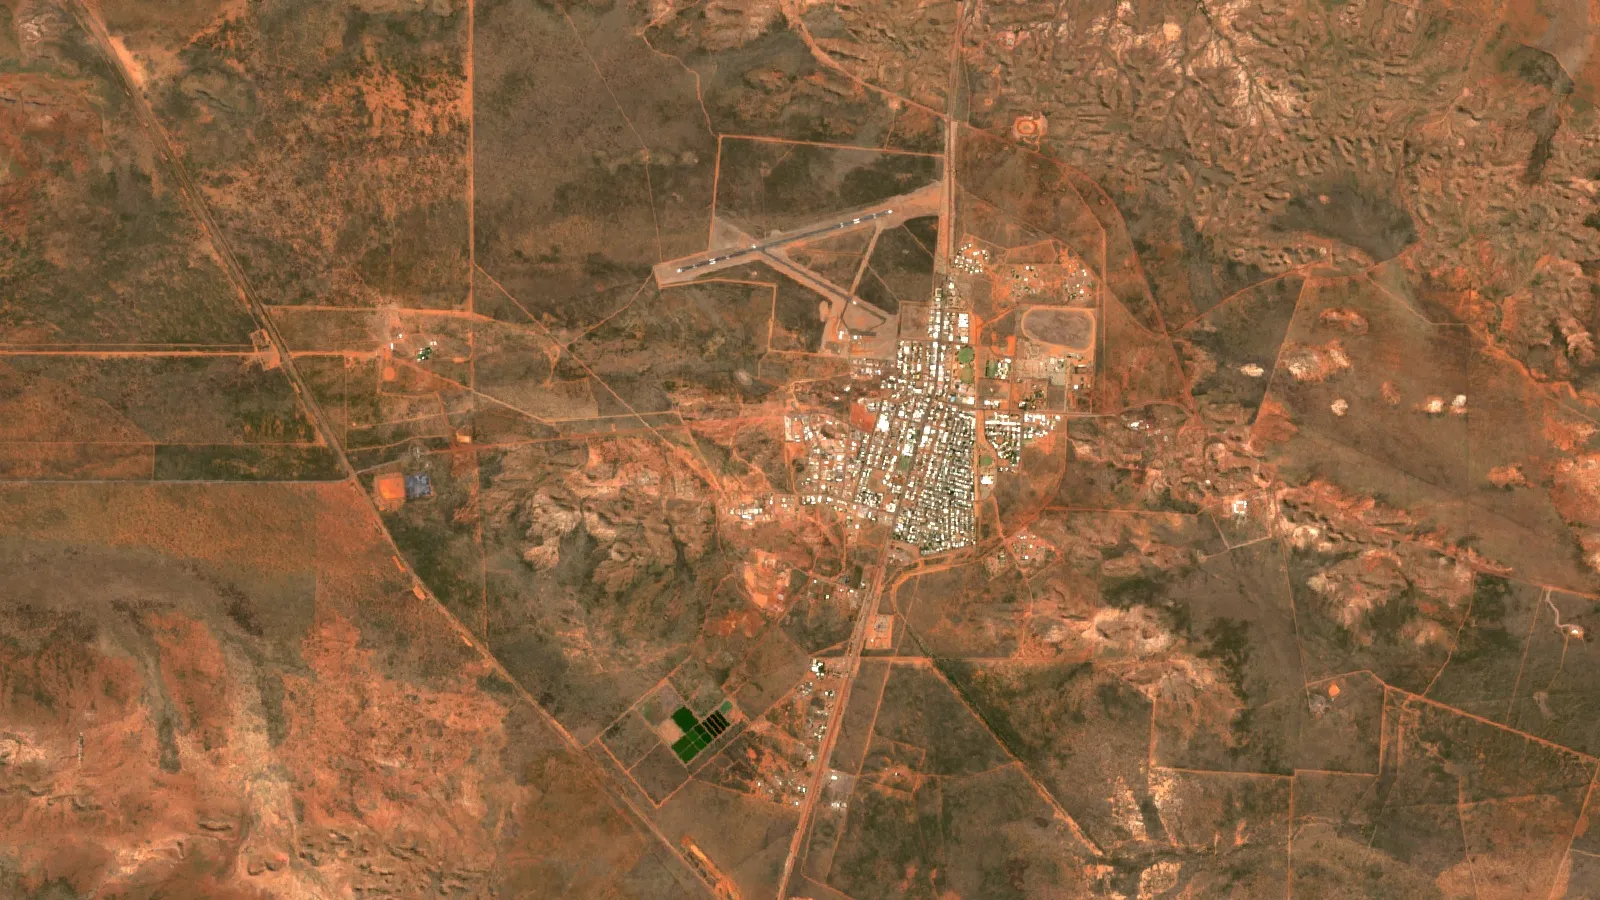
Satellites measure reflected light in many wavelengths. Different minerals reflect differently, so iron oxide, clay, mica and carbonate can show up as separate colours on a processed image. Sentinel-2 has only two shortwave infrared bands, so it separates broad groups; ASTER, which the USGS used for mineral maps, has more. The European Sentinel-2 satellites, for example, record 13 bands, including shortwave infrared, with a swath 290 km wide and a revisit of 5 days with two satellites (Copernicus SentiWiki). The USGS has used another instrument, ASTER, to make maps of clay, sulphate, mica and carbonate minerals over the San Juan Mountains of Colorado, because alteration often forms along faults and fractures that carried metal-bearing fluids (USGS Scientific Investigations Map 3190).
That makes satellite data good at ranking a large licence. You see which parts show alteration, which lines are faults, and which parts are bare ground and which are forest or crop. It is weak where soil, vegetation or sediment hides the rock. The USGS notes that its mineral maps describe exposed surface mineralogy (USGS). Satellites map surface and near-surface signatures; sampling and drilling confirm them.
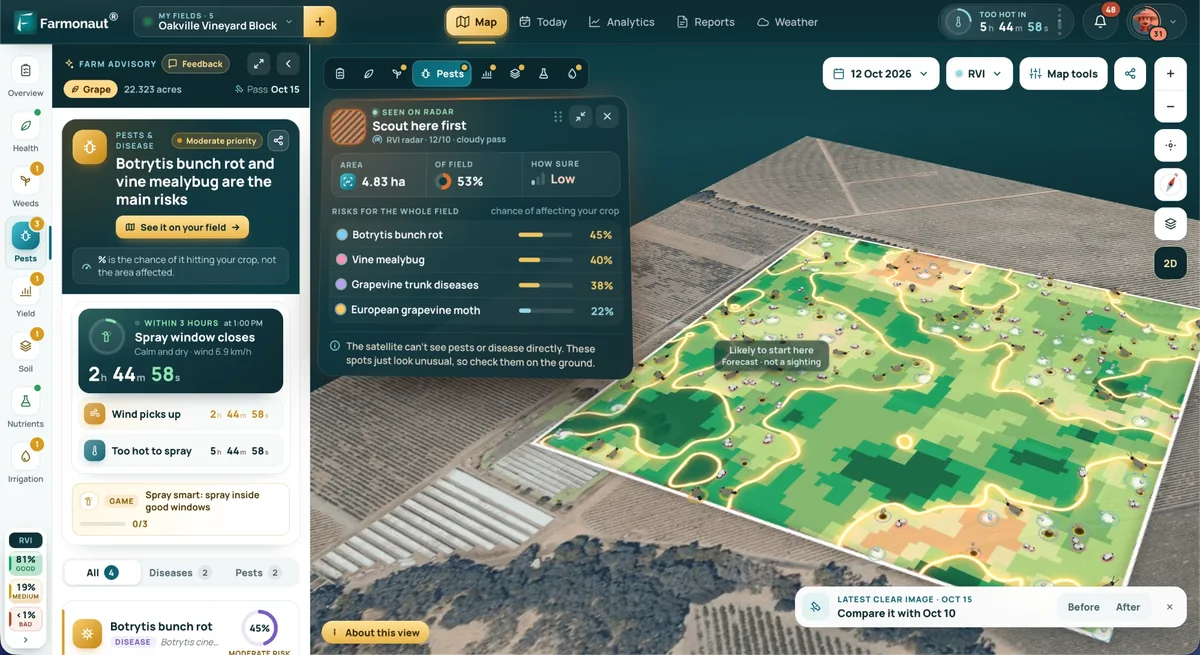
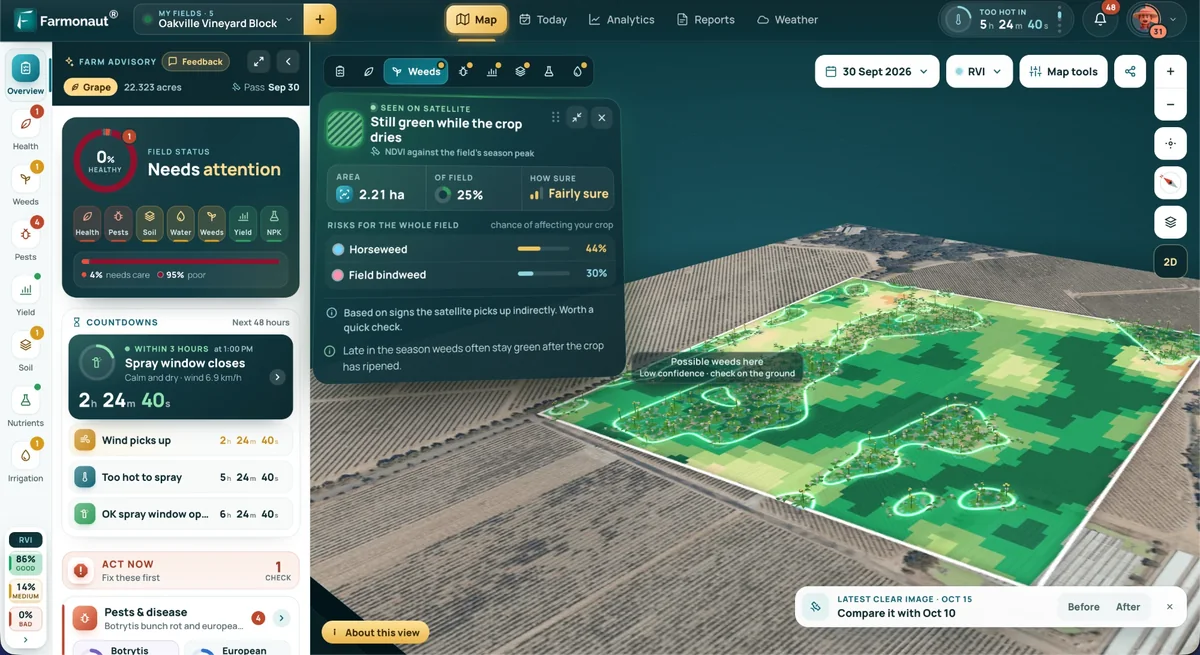
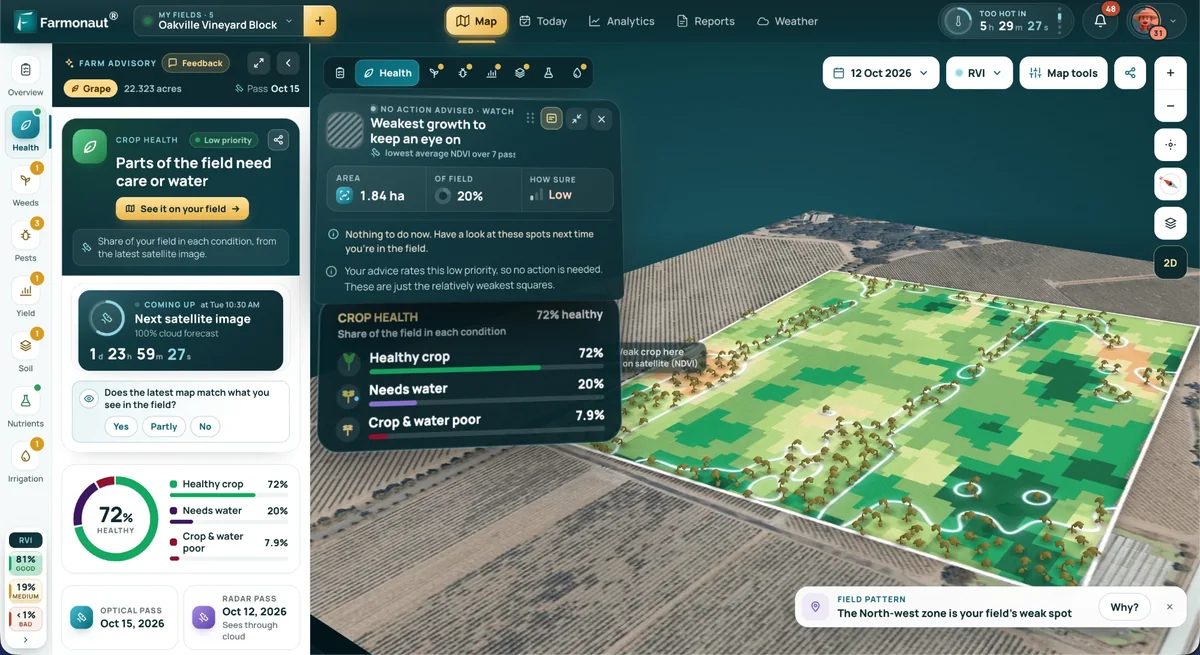
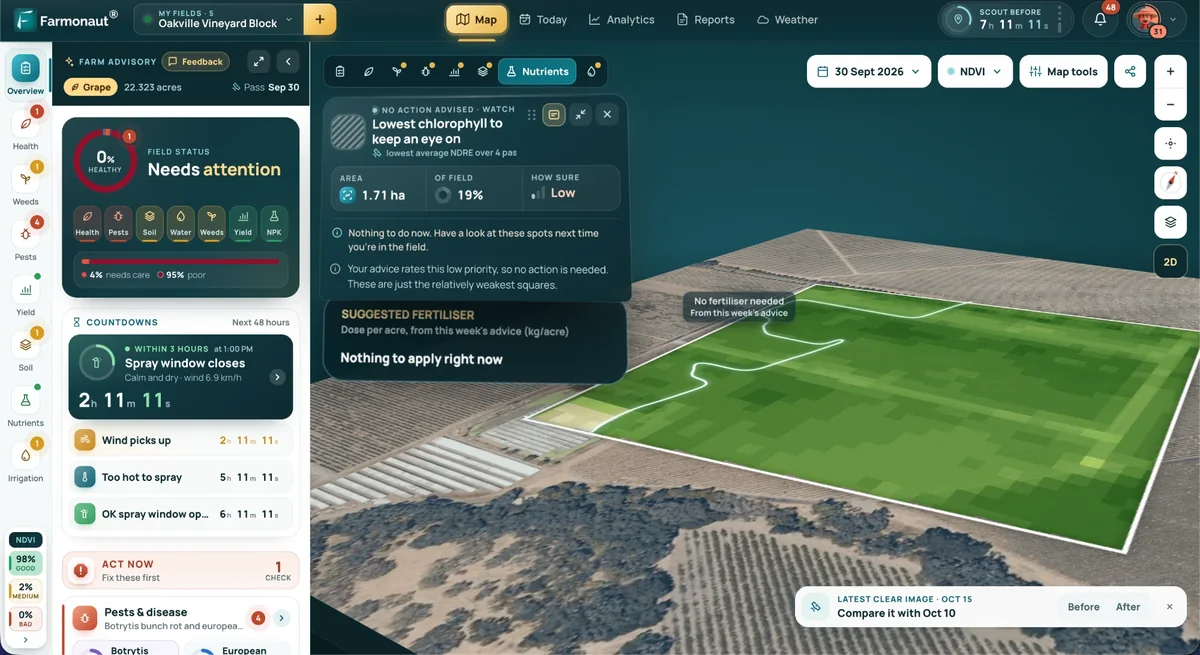
Our own service works this way. A Farmonaut satellite mineral report is built from your polygon or KML, and delivery takes 5 to 20 business days depending on size and mineral. We recommend a minimum area of 10 acres, accuracy is 90%+, and the depth estimate is about 225 to 250 m. Results are exploration targets, not a resource under JORC, NI 43-101 or SAMREC. To understand the steps behind it, read how satellite mineral exploration works and look at the mineral exploration report sample.
Geochemistry: soil and stream sampling
Geochemistry measures the metals in samples you collect. Stream sediment works in hilly ground, because a stream carries material from the whole catchment upstream into one sample. Soil sampling works on a grid when you already know roughly where to look. Rock chip samples check what you find in outcrop.
Regional surveys are sparse. One regional survey in British Columbia, run to the National Geochemical Reconnaissance protocols, sampled 1,008 sites over about 13,000 square kilometres, an average of one site per 13 square kilometres, taking 1 to 2 kg of sediment from small catchments of less than 10 square kilometres (Natural Resources Canada survey record). A claim-sized licence needs a much denser design, with samples tens to hundreds of metres apart. Our guide to geochemical survey design covers spacing, sample types and laboratory checks.
The limits are cover and movement. If the surface is transported sand, gravel or glacial till, the metal in the soil may not sit above its source. If the ground is deeply weathered, some metals are leached and others are moved. A soil anomaly shows where to look more closely. It does not show size or depth. Laboratory results also take weeks, so geochemistry is rarely the fastest step.
Geophysics: four tools for four questions
Geophysics measures a physical property of the ground from the surface or the air. No single survey answers every question, so the choice follows the target.
Magnetics
A magnetic survey records small changes in the earth’s magnetic field caused by rocks that contain magnetite and similar minerals. USGS explains that igneous rocks are frequently magnetic enough to make anomalies, while sedimentary rocks commonly are not (USGS Fact Sheet FS-237-95). Magnetics maps faults, intrusions and buried rock units, and it helps for iron-rich deposits. It is also one of the cheapest ways to see under thin cover. Our magnetic survey guide lists line spacing and flight height.
Radiometrics
Radiometrics measures natural gamma rays from potassium, thorium and uranium. Gamma rays travel only about 35 centimetres through rock, so the method reads the top of the ground (Geoscience Australia). Potassium highs can mark alteration around some ore deposits, and changes in the signal often mark changes in rock or soil type. Each element can come from several minerals, so a geologist has to interpret the map alongside other data (Eos, on USGS Earth MRI surveys). Magnetics and radiometrics are normally flown together.
Induced polarisation and electromagnetics
Induced polarisation (IP) measures how well the ground holds an electrical charge, which is called chargeability. USGS describes IP as very effective for disseminated sulphides, where the sulphide grains are scattered and not touching, while electromagnetic (EM) methods are effective for massive sulphide, where the grains are electrically connected (USGS Scientific Investigations Report 2010-5070-C). Airborne EM is also used to map the thickness of cover, which Geoscience Australia does with line spacings from 20 km for national coverage to between 1 and 6 km in regional surveys (Geoscience Australia). Ground IP and ground EM are crew work on a grid, with the cost to match. Read our IP survey guide before you ask for quotes.
Gravity
Gravity records small changes in the pull of gravity caused by rock density. It finds dense intrusions and thick basins, and it works under cover. Geoscience Australia notes that gravity data are usually used alongside geological mapping and airborne magnetic data (Geoscience Australia). It rarely suits a small licence on its own, because the result is a broad density map, not a target. See the gravity survey guide for station counts.
The USGS describes potential-field surveys (gravity and magnetics) as relatively inexpensive and able to cover large areas quickly (USGS Fact Sheet FS-239-95). The same cannot be said of IP and EM on the ground, where each line-kilometre costs more. Most of a geophysical bill is the contractor’s travel and set-up, so a small block costs more per hectare than a large one. For who does the work and how to compare bids, see airborne geophysical surveys and geophysical survey companies.
Mapping, trenching and drilling
Geological mapping is a geologist walking the ground, recording rock types, veins, faults and old workings. It costs little and turns every other result into something you can read. Prospecting with a hand lens, a field magnetometer and a few rock samples belongs here. If your licence holds artisanal workings, mapping around them is the quickest way to learn what the ground holds. For permits, see our artisanal licence guide.
Trenching cuts a ditch through soil to fresh rock so you can see and sample the vein. It works where cover is thin, and it shows structure that soil sampling hides. Drilling is the only method that returns grade, thickness and depth, as rock you can hold and assay. It is also the highest cost, and a hole tests a column a few centimetres wide. Plan holes from the earlier steps, not instead of them. Our guides to diamond drilling contractors and the stages, costs and timelines of exploration cover the rest.
The logical order, and why it saves money
The idea is simple. Use the cheap, wide methods to shrink the area, then spend on the narrow methods only where the odds are best.
- Desktop review. Collect geological maps, old reports, public geophysics and drill records from the national or state geological survey. Check what the licence already holds. This costs days and no field money.
- Satellite screen. Map alteration, faults and land cover across the whole licence. The output is a ranked set of zones and a list of ground to leave alone.
- Mapping and sampling on the best zones. Walk the top-ranked zones, then collect stream, soil and rock samples. This tests the satellite picture on the ground.
- Geophysics on the best ground. Buy a survey only over the zones where steps 2 and 3 agree, and choose the method to suit the target: magnetics for structure, IP for disseminated sulphide, radiometrics for potassium alteration.
- Trenching, then drilling. Test the best anomalies. Drill only where several datasets point to the same spot.
Each step is a gate. If a zone fails at step 2 or 3, you never pay for step 4 over it. That is where the saving comes from, and it is the same logic that a funder or investor will look for in a plan.
Which method first: a decision table by situation
| Your situation | Start with | Then | Why |
|---|---|---|---|
| Unmapped licence, no data | Desktop review and satellite screen of the whole area | Reconnaissance stream or soil lines and mapping on the top zones | You do not yet know where to look, so cover everything cheaply before spending per line-kilometre |
| Known artisanal workings | Mapping and rock sampling around the workings; satellite screen for similar ground nearby | Trenching across the vein, then ground geophysics along strike | The workings already show where metal is; the task is to see how far it goes and find more like it |
| Old drill data exists | Re-read the logs and assays; build a section; satellite and magnetic data for structure | Fill-in geophysics, then targeted drilling | Old holes are the best ground-truth you can buy, so reuse them before creating new data |
| Tight budget | Desktop review, satellite screen and a mapping and sampling programme | Hold geophysics and drilling until the first three agree | These steps give the most information per dollar, and a failed zone costs little |
| An investor asks for a plan | A staged plan: desktop, satellite, sampling, geophysics, drilling, each with a decision gate | Budget each stage separately and release money only after a stage passes | A staged plan shows the money is tied to results, not hope |
What to do first, and why
Do the desktop review, and in the same week order a satellite screen. Both cost little and take days, and both change what you do next. They tell you where to walk, where to sample and where not to spend. A screen across the whole licence can also stop you from drilling in the one corner that you like but the data does not.
Then walk the ranked zones and sample them. Satellite results are exploration targets, so the sampling is what turns a colour on a map into evidence. If the samples agree, buy magnetics or IP over those zones. If they do not, you saved the geophysics bill. A licence holder who flies a survey over the whole area before doing either gets a map but still has to choose where to go, and has spent the budget to do it.
A few habits keep a small budget alive. Ask each contractor for a quote on a single, clearly drawn block, not on the whole licence. Check cover thickness before buying soil geochemistry or radiometrics, because both read only the top of the ground. Keep every dataset in one map project with the licence boundary, so each new result is read against the older ones. And check with the ministry before you apply for or change a licence, since rules on survey permits and sampling differ; our guide to cadastre portals by country lists where to start.
If you want the desktop and satellite steps done for you, the satellite mineral detection service takes a KML or polygon. You can request a quote on Farmonaut Mining.
Frequently asked questions
Should I do geochemistry or geophysics first?
Do neither first. Run a desktop review and a satellite screen, then sample the best zones. Geochemistry often comes before geophysics on a small block, because soil sampling can be done in stages and shows which metals are present. Costs and timing vary by country and contractor, so get quotes for your own ground. Geophysics follows on the ground that sampling supports.
Can satellite imagery replace soil sampling or drilling?
No. Satellite data maps the surface and near surface, and it ranks ground. Sampling and drilling confirm what is there. The point of the satellite step is to reduce how much sampling and drilling you need.
Which geophysical method is best for a small licence?
Magnetics is a common first geophysical choice because USGS calls potential-field surveys relatively inexpensive and able to cover large areas quickly, and the result shows structure. IP is the best next step for disseminated sulphide targets. Gravity and airborne EM suit larger blocks or deeper targets. The right choice depends on what you are looking for.
How much ground does each method cover?
A satellite scene covers tens to hundreds of kilometres across, and Sentinel-2 swaths are 290 km wide. One regional stream survey in British Columbia averaged one site per 13 square kilometres, and airborne surveys fly lines 100 m to several kilometres apart. Ground IP and trenching cover single lines and small grids.
What is the cheapest way to start on an unexplored licence?
Public data first, then a satellite screen, then a mapping and sampling trip to the best zones. These steps use almost no field time and tell you whether any later money is worth spending.
When do I need drilling?
When two or three independent datasets, such as alteration, samples and a geophysical anomaly, point at the same place, and you need grade, thickness or depth. A resource estimate under JORC, NI 43-101 or SAMREC needs drilling and a qualified person; exploration targets from earlier steps are not a resource.
This page is for information only. It is not investment or legal advice. Cost levels are relative and vary by country and contractor; confirm survey permits and sampling rules with the ministry before you apply.
Farmonaut mining
Screen your licence from space before you spend on the ground
Request a quote for a satellite mineral report on your polygon, so geochemistry and geophysics go only where the data points.
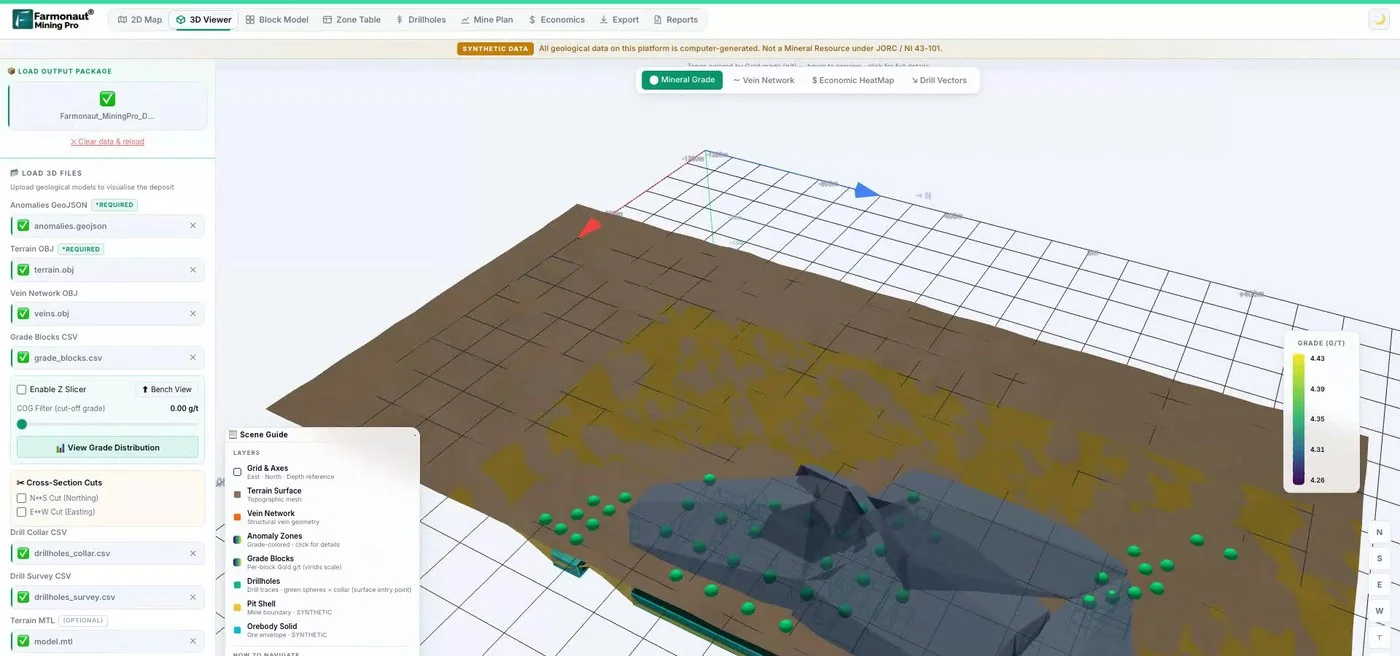
Mining Pro sample view, synthetic data
Sources
- Copernicus SentiWiki, Sentinel-2 mission: sentiwiki.copernicus.eu
- USGS, Scientific Investigations Map 3190 (Rockwell, 2012), ASTER mineral mapping: pubs.usgs.gov
- Natural Resources Canada, regional stream geochemical survey record NTS 94C: geochem.nrcan.gc.ca
- USGS, Fact Sheet FS-237-95, aeromagnetic anomaly maps: pubs.usgs.gov
- USGS, Fact Sheet FS-239-95, potential-field gravity: pubs.usgs.gov
- Geoscience Australia, Radiometrics: ga.gov.au
- Geoscience Australia, Gravity: ga.gov.au
- Geoscience Australia, Airborne electromagnetics surveys: ga.gov.au
- USGS, SIR 2010-5070-C, geophysical characteristics of VMS deposits: pubs.usgs.gov
- Eos (AGU), new maps of natural radioactivity (USGS Earth MRI): eos.org
Discussion
Questions, corrections or field experience? Share them below. First-time comments are reviewed before they appear, and your email is never published.
No comments yet. Be the first to add a question or your experience.

 African Venture Partners Holding
 Congo Mining Solutions
 Mining SARL
 SenGold Invest SAS
 Sania Corporation
 Sean Mining Limited
 NTS Group (Pty) Ltd
 Mine4Africa
 Lithspo Minerals Limited
 Tintina Mining Group
 Dalgety Minerals Pty Ltd
 Vortex Minerals Pty Ltd
 Faith At Work (Pty) Ltd
 Geotech Mining Solutions plc
 Vulcan International Limited
 Kidepo Associates
 GKY Mining
 Alkimy SARL
 Double A Trading
 GemSprout Metals Limited
 Client · Somalia · Gold